


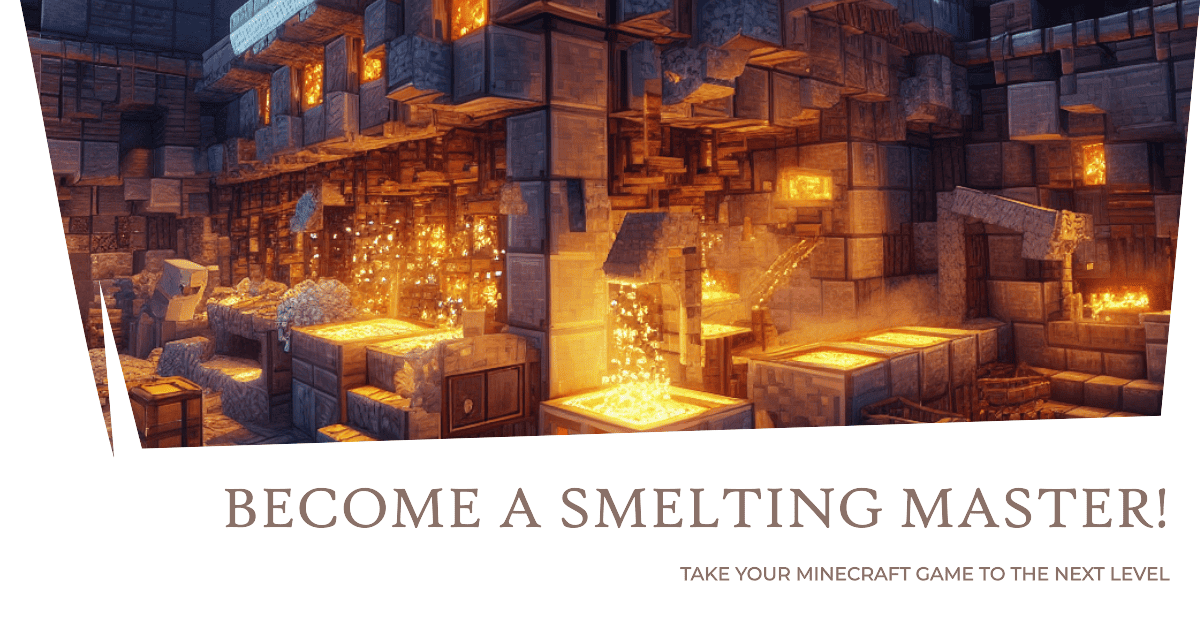
Minecraft Smelting Mastery: Take Your Game to the Next Level
So you've mastered the basics of Minecraft - mining, crafting, building. You've constructed elaborate houses, defeated enemies, and explored the world. But have you truly become a smelting master? Smelting is one of the most useful skills in Minecraft, allowing you to produce high-quality materials and tools to enhance your game. If you want to take your world to the next level, it's time to level up your smelting skills.
In this article, you'll learn advanced smelting techniques to make the most of your furnaces and blast furnaces. We'll show you how to automate your smelting systems, power your furnaces efficiently, and produce large quantities of materials for epic builds. You'll discover the best fuel sources, hopper systems, and furnace arrays to maximise your smelting productivity. With these pro tips, you'll be churning out Netherite gear and building with gilded blackstone in no time. Prepare to transform your world and out-craft your friends with your newfound smelting mastery!
An Introduction to Smelting in Minecraft
Smelting is one of the most important skills to master in Minecraft. By smelting ores and other raw materials, you can obtain the items needed to craft tools, weapons, and other useful items.
To smelt in Minecraft, you'll need a furnace and a fuel source like coal, wood, or lava buckets. Place the furnace down, put the fuel in the bottom slot and the material you want to smelt in the top slot. Light the furnace and in a few seconds, your material will be smelted into a new item! For example, iron ore becomes iron ingots, sand becomes glass, and logs become charcoal.
For larger smelting operations, consider building an automatic smelter. These setups contain multiple furnaces connected to chests that automatically feed in fuel and ores. The end result is ingots, glass or other items dispensed into output chests, ready for you to use. A simple 4-furnace design can handle most modest smelting needs.
Some key tips for mastering smelting:
• Use the best fuel sources like coal, lava or blaze rods for maximum efficiency.
• Smelt ores in large batches to get the most out of your furnace fuel.
• Cook food like beef, porkchops or potatoes to restore your hunger.
• Turn excess cobblestone into smooth stone by smelting. Smooth stone has more uses in crafting.
• Make charcoal from logs if coal is scarce. Charcoal can fuel furnaces and torches.
• Consider making an automatic chicken cooker to get lots of cooked chicken and feathers.
With practise, you'll be churning out ingots, smooth stone, glass and cooked foods like a pro. Your Minecraft world will transform as you unlock more advanced crafting options and build bigger and better structures. Smelting mastery opens up a whole new level of gameplay - so fire up those furnaces and get crafting!
The Basics of Smelting Ores and Other Items
To get serious about smelting in Minecraft, you'll want to understand the basics. The furnace is your best friend here.
Fueling the Furnace
To smelt items in your furnace, you'll need fuel - coal, charcoal, wood, saplings, etc. The hotter the fuel, the faster your smelting will go. Coal and charcoal are your best options. Place your fuel in the bottom slot of the furnace.
What Can Be Smelted?
Nearly all mineral ores like iron, gold and copper can be smelted into ingots. Cobblestone can be smelted into smooth stone. Sand can be smelted into glass. Logs can be smelted into charcoal. Raw meat and fish can be cooked. The list goes on! Place the item you want to smelt in the top slot.
Retrieving Your Smelted Items
Once smelting is done, the smelted item will appear in the middle slot at the bottom of the furnace. Don't forget to grab your freshly smelted ingots, glass, stone or cooked food! You can then use the material for crafting or enjoy your cooked porkchop.
With some fuel, ores, cobblestone or raw food on hand, you'll be smelting in no time. Remember, the hotter the fuel, the faster the furnace. Keep your furnace stocked and you'll have a steady supply of essentials for surviving and thriving in your Minecraft world. Now get out there and start smelting!
Smelting Tips and Tricks for Efficiency
To maximise your smelting efficiency in Minecraft, there are a few tips and tricks you can utilise.
Use Fuel-Efficient Planks and Sticks
Rather than burning through your coal or charcoal supply, use planks, sticks, and other wooden items as fuel. Six planks or two sticks will smelt one item. While not as efficient as coal, using renewable wood resources is a great way to conserve your limited fuel sources for when you need them most.
Create an Automatic Super-Smelter
A super-smelter allows you to smelt items automatically using hoppers, furnaces, and chests. By locking a hopper until it fills with items and then unlocking it to empty into furnaces, you can create an efficient system to constantly smelt items. Have the output hoppers deposit the finished products into chests for easy access. Super-smelters are a huge time-saver and well worth the resources to construct.
Use a Blast Furnace When Possible
Once you have a steady supply of iron, craft a blast furnace. Blast furnaces smelt ore twice as fast as a regular furnace. While they can only be used to smelt ore into ingots, the increased speed is hugely beneficial. Have a designated blast furnace for smelting large batches of ore at once to maximise productivity.
Other Tips
• Group similar items together when smelting to minimise fuel usage. Smelt all your iron ore at once, then gold, then food, etc.
• If you have a large surplus of items to smelt, construct additional furnaces. Multiple furnaces will allow you to smelt bigger batches faster.
• Use lava buckets as fuel for long-lasting power. One bucket will smelt 100 items.
• Place hoppers on top of and below your furnaces to quickly load and unload items.
With these tips, you'll be smelting like a pro in no time. Your furnaces will run nonstop, churning out ingots, glass, and food to meet all your crafting and survival needs. Smelting mastery achieved!
Automating Smelting With Hoppers and Furnace Arrays
Once you’ve mastered the basics of smelting in Minecraft, it’s time to take your game to the next level by automating the process. Rather than manually feeding fuel and items into your furnaces, you can use hoppers and furnace arrays to automatically smelt huge volumes of items while you work on other projects.
Hoppers
A hopper is a block that can transfer items between containers, dispensers, droppers and furnaces. Place a hopper on top of a furnace to automatically feed in fuel, raw materials and empty out the finished products. The hopper will pull items from the container above it and push them into the furnace, allowing it to run without your direct input.
Furnace Arrays
A furnace array, also known as a super smelter, is a line of connected furnaces with hoppers that work together to rapidly smelt your items. To build an array, place your furnaces side by side and connect them with hoppers. Have the first hopper pull from a chest filled with raw materials. This hopper will feed the first furnace, which smelts the items and pushes them to the next furnace in the array.
Each furnace will smelt the items and pass them along to the next, allowing you to smelt huge volumes automatically. You can expand these arrays to include many furnaces, like 16, 32 or even 128 furnaces or more, to create an industrial-scale smelting operation. Fuel is fed into the first furnace, which then provides the rest through the hopper connection.
With a well-designed furnace array, you’ll have more supplies than you know what to do with and can focus on building, exploring and other projects while your super smelter cranks away! Automating the mundane but necessary tasks in Minecraft lets you get to the really fun stuff. Happy smelting!
Mastering Advanced Smelting Techniques and Recipes
Mastering the art of advanced smelting in Minecraft can take your game to the next level. Once you've automated basic smelting, it's time to upgrade to blast furnaces and alloy smelters.
Blast furnaces
Blast furnaces smelt ores, raw metals, and metal armour and tools twice as quickly as regular furnaces. You'll want to craft a blast furnace ASAP to speed up your smelting operations. To make a blast furnace, place 5 iron ingots, 1 furnace, and 3 smooth stone in the crafting table.
Advanced alloy smelter
An advanced alloy smelter with Applied Energistics 2 allows you to create vivid alloy, which can be used for various purposes like making vibrant capacitors and vibrant chambers. To make an advanced alloy smelter, you'll need an alloy smelter from EnderIO, an ME interface, and an ME cable. Place the alloy smelter next to the ME interface and connect them with the ME cable. You'll also want a pattern in the ME interface for vivid alloy.
Super smelters
A super smelter allows you to smelt huge amounts of items at once. You'll need multiple furnaces, hoppers, and chests. Place the furnaces in a row with hoppers feeding into them from chests. The hoppers will automatically feed the furnaces with fuel and items to smelt. Hoppers below the furnaces collect the smelted items. With a super smelter, you can fill chests with ores, fuel, and other items and come back later to find everything smelted!
Mastering advanced smelting techniques like using blast furnaces, alloy smelters, and super smelters will save you loads of time by allowing you to smelt multiple items at lightning speed. Your smelting operations will be hyper-efficient, leaving you more time to focus on other areas of the game. Happy smelting!
Conclusion
So there you have it, everything you need to know to become a Minecraft smelting master. By following these tips and tricks, you'll be crafting iron tools and armour in no time and impressing all your friends with your new skills. Before you know it, you'll have a chest full of the best gear and be the envy of your server. Now get out there, find some ores and get smelting - your next big Minecraft adventure awaits! The world is your blocky oyster.
Get your own server with our Minecraft Server Hosting service!