Enshrouded: Loot for Beginners
Enshrouded: Loot for Beginners
One of the big fundamentals for Enshrouded is loot, it’s how you get anywhere in your journey. Looting weapons, materials chests and so much more in your Enshrouded server hosting. So with the upcoming game, not much is known outside of trailers and footage from the demo. That’s where we come in! This is your guide to understanding the basics of how it works in this game!
Humble Beginnings
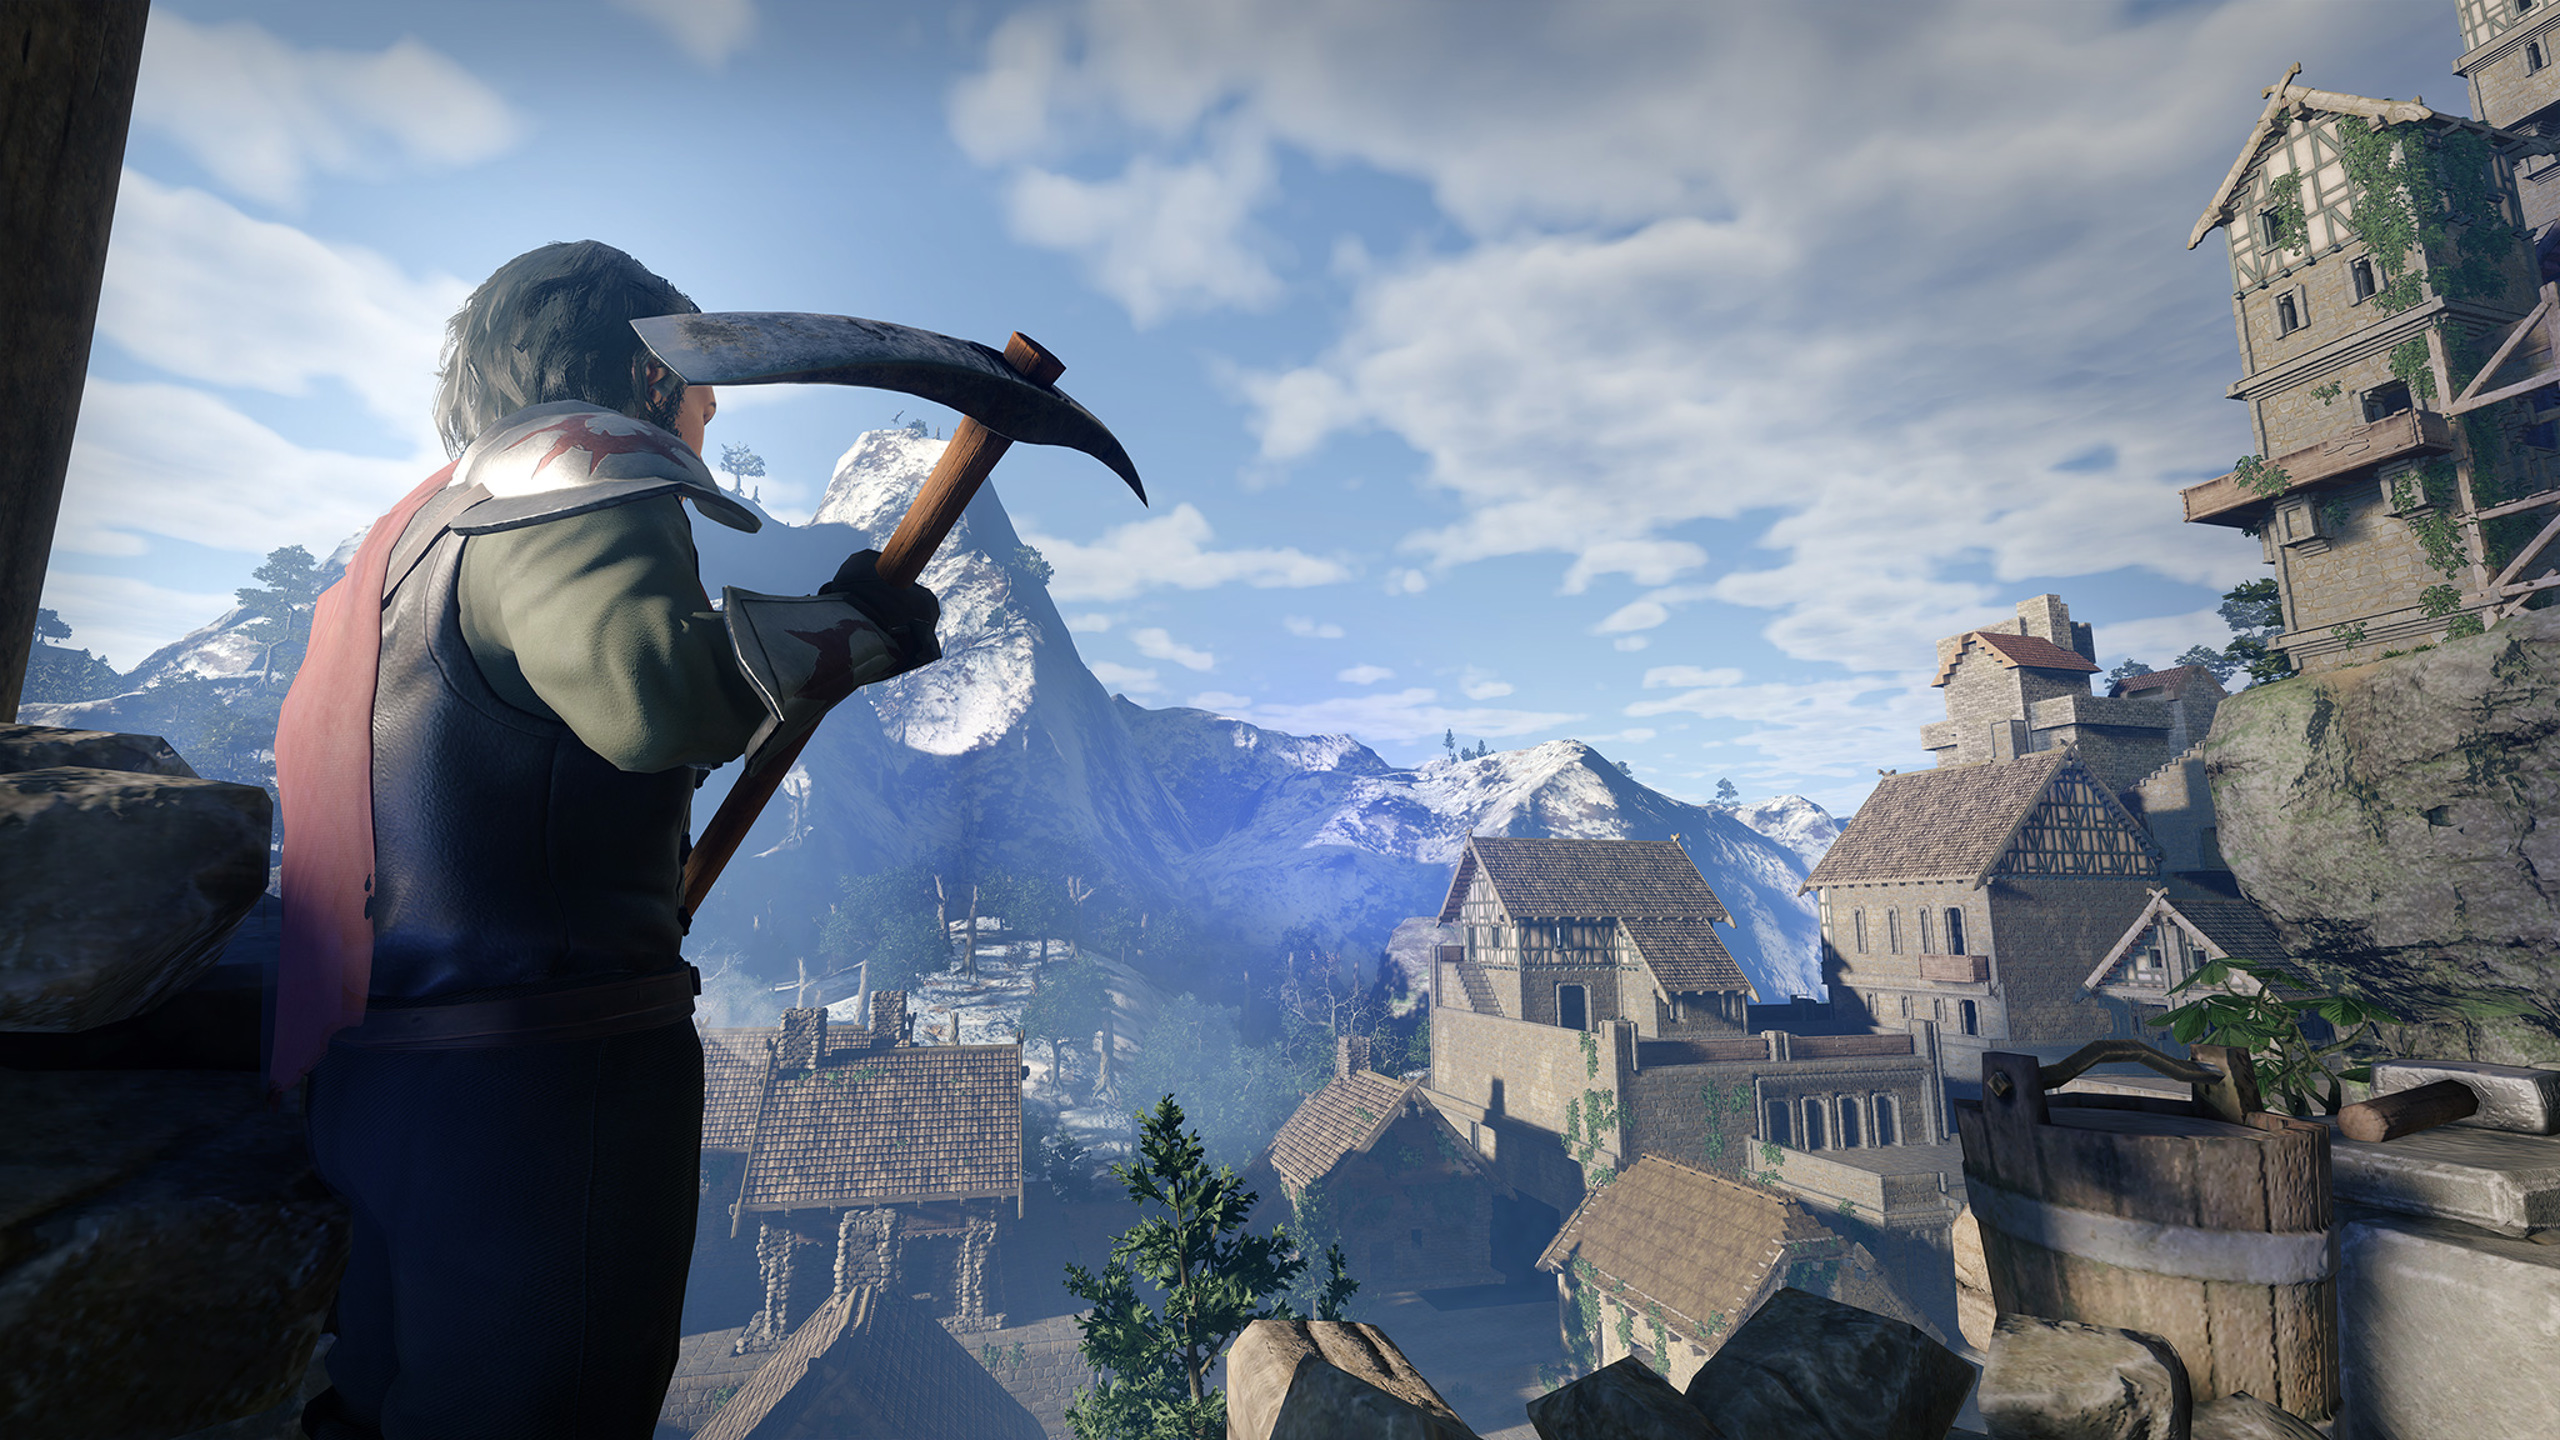
When starting Enshrouded, you will practically start with little to nothing. One of the big aims of the game is to build yourself up and the journey it takes to get there! So you need to get yourself some loot to have a roof over your head? When you start, a chest nearby is going to give you a torch and your first bandage, neat! Your torch can act as a weapon but it’s not recommended to, since it’ll wear away. You’ll then be taught about explosive loot! Upon use in the tutorial, you get your first sword for fighting. Huzzah! You’re ready for your looting journey to begin.
Next up
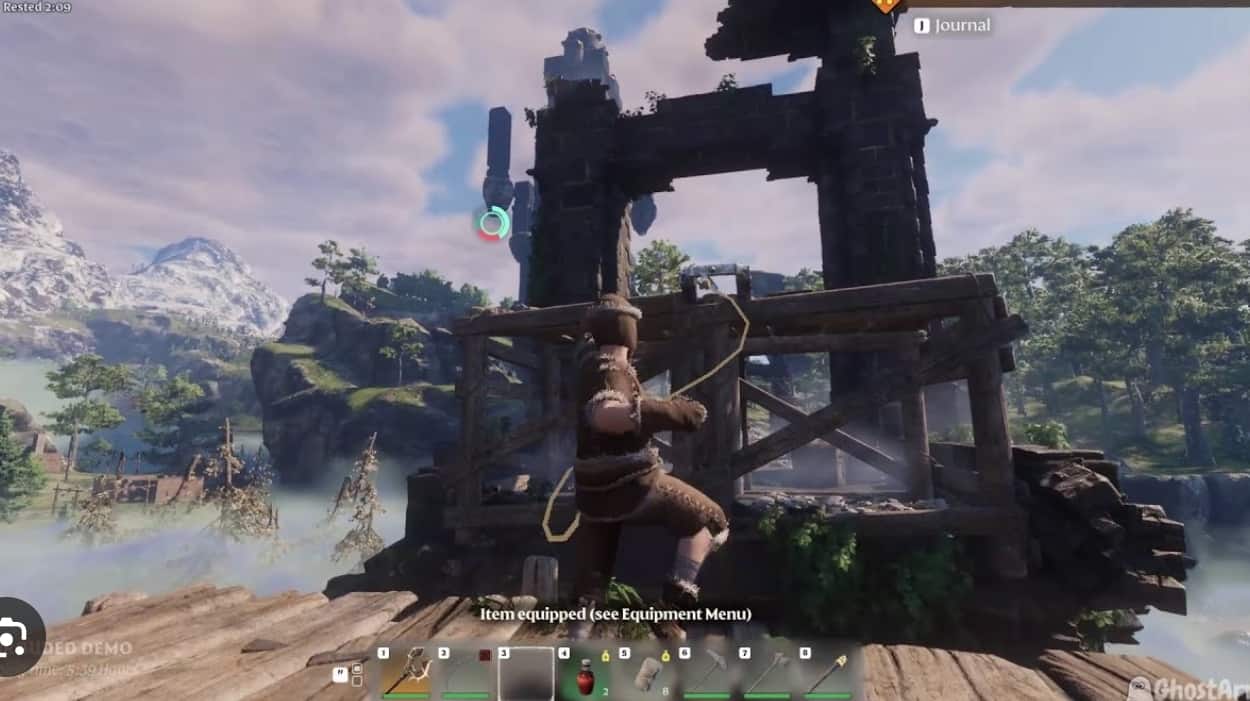
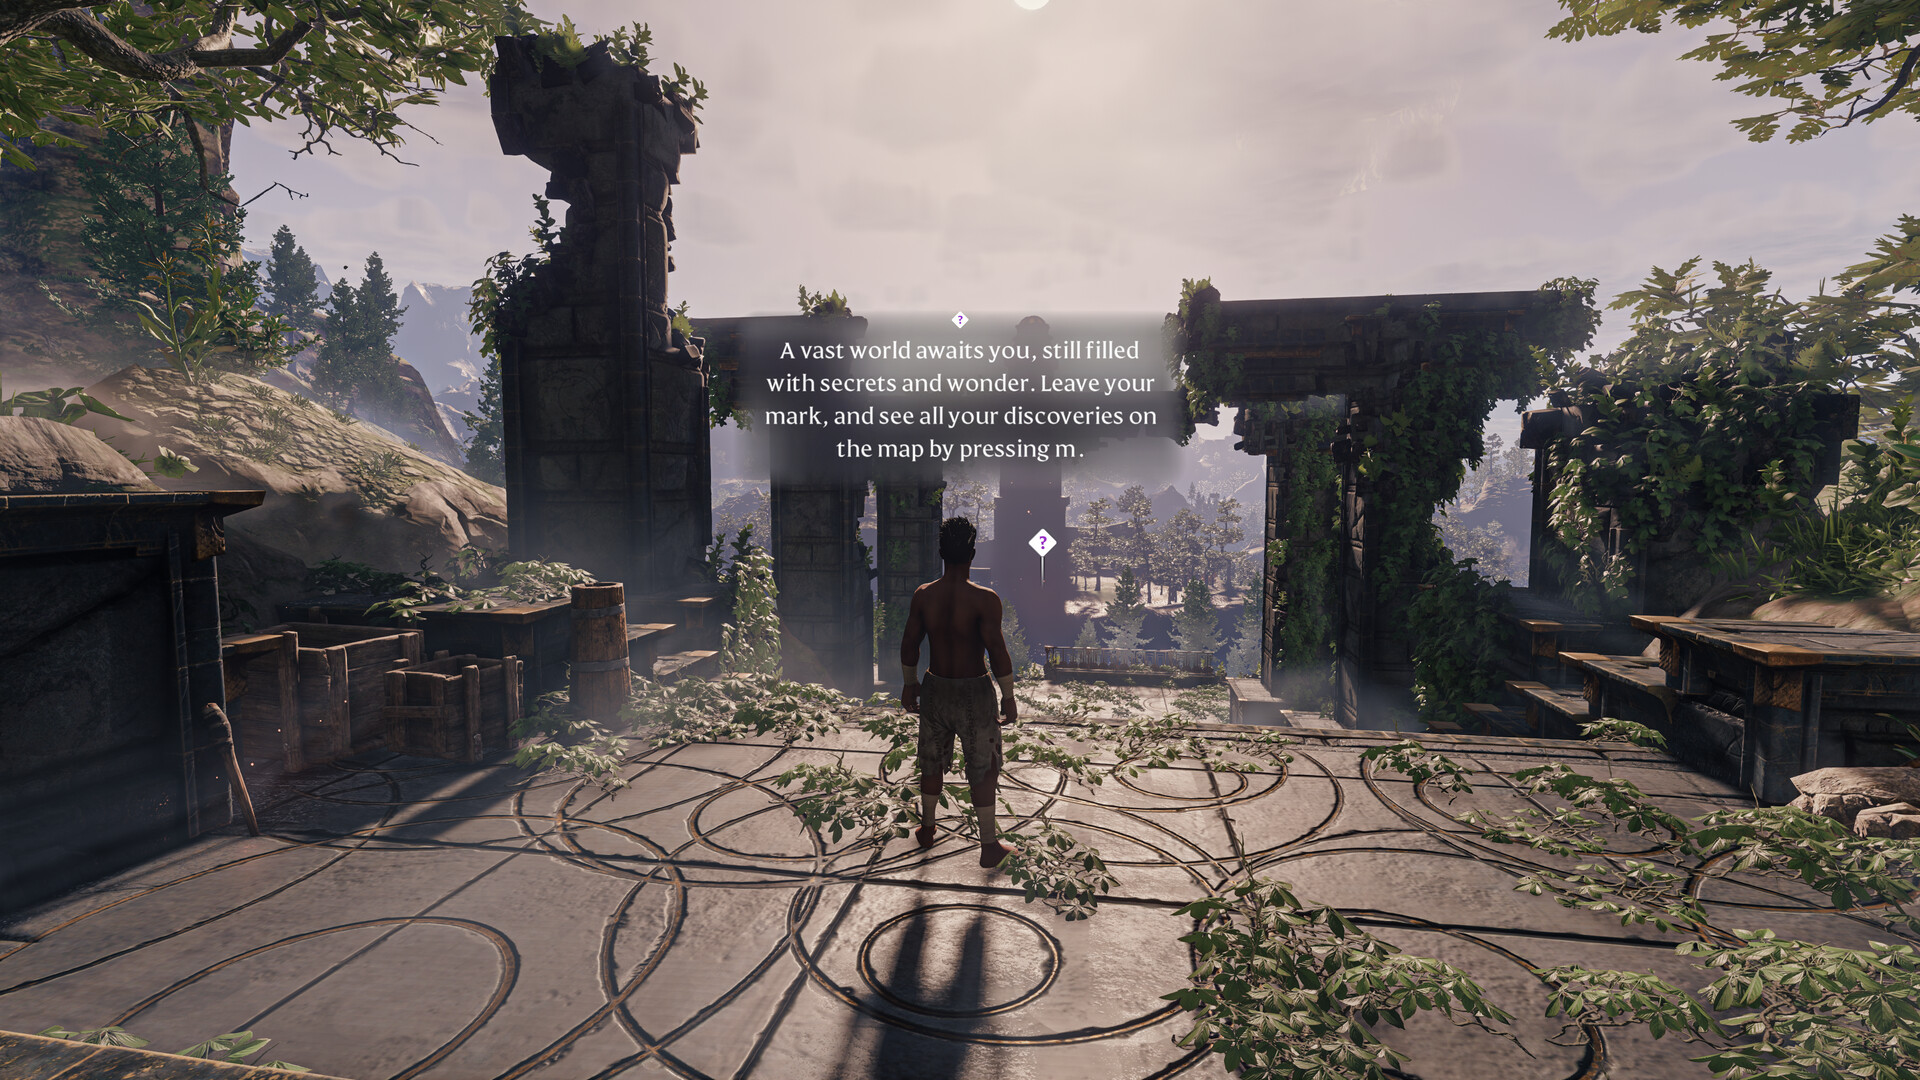
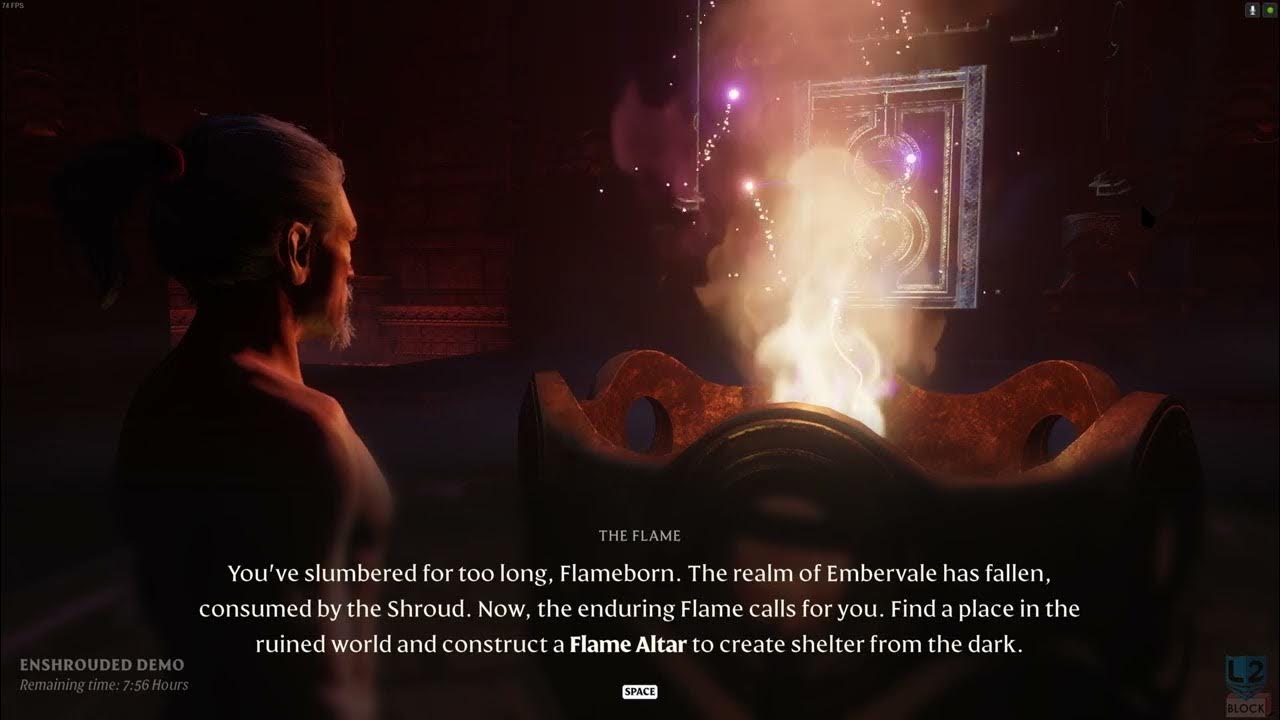
So that roof over your head? Now you’ll need to finish the tutorial beginning and head into the wilderness. The Shroud tutorial gave you a good chunk of loot to help kickstart your life in Enshrouded. A pickaxe recipe should be on your way to the quest spot on a stump. You should have enough to make the Flame Alter, kickstarting your base. Explore for loot that will help you make an axe, to then chop trees and help yourself set up a home! Overall, you'll need to use certain loot for Workbenches, furnaces and more! But we’re talking about the loot itself today.
Where is loot?
Loot is typically found in chests, enemies and the environment. Chests come from exploration, which you will discover more overtime depending on how often you explore. Maybe you just want to chill exploring this session? Chests are the way to go.
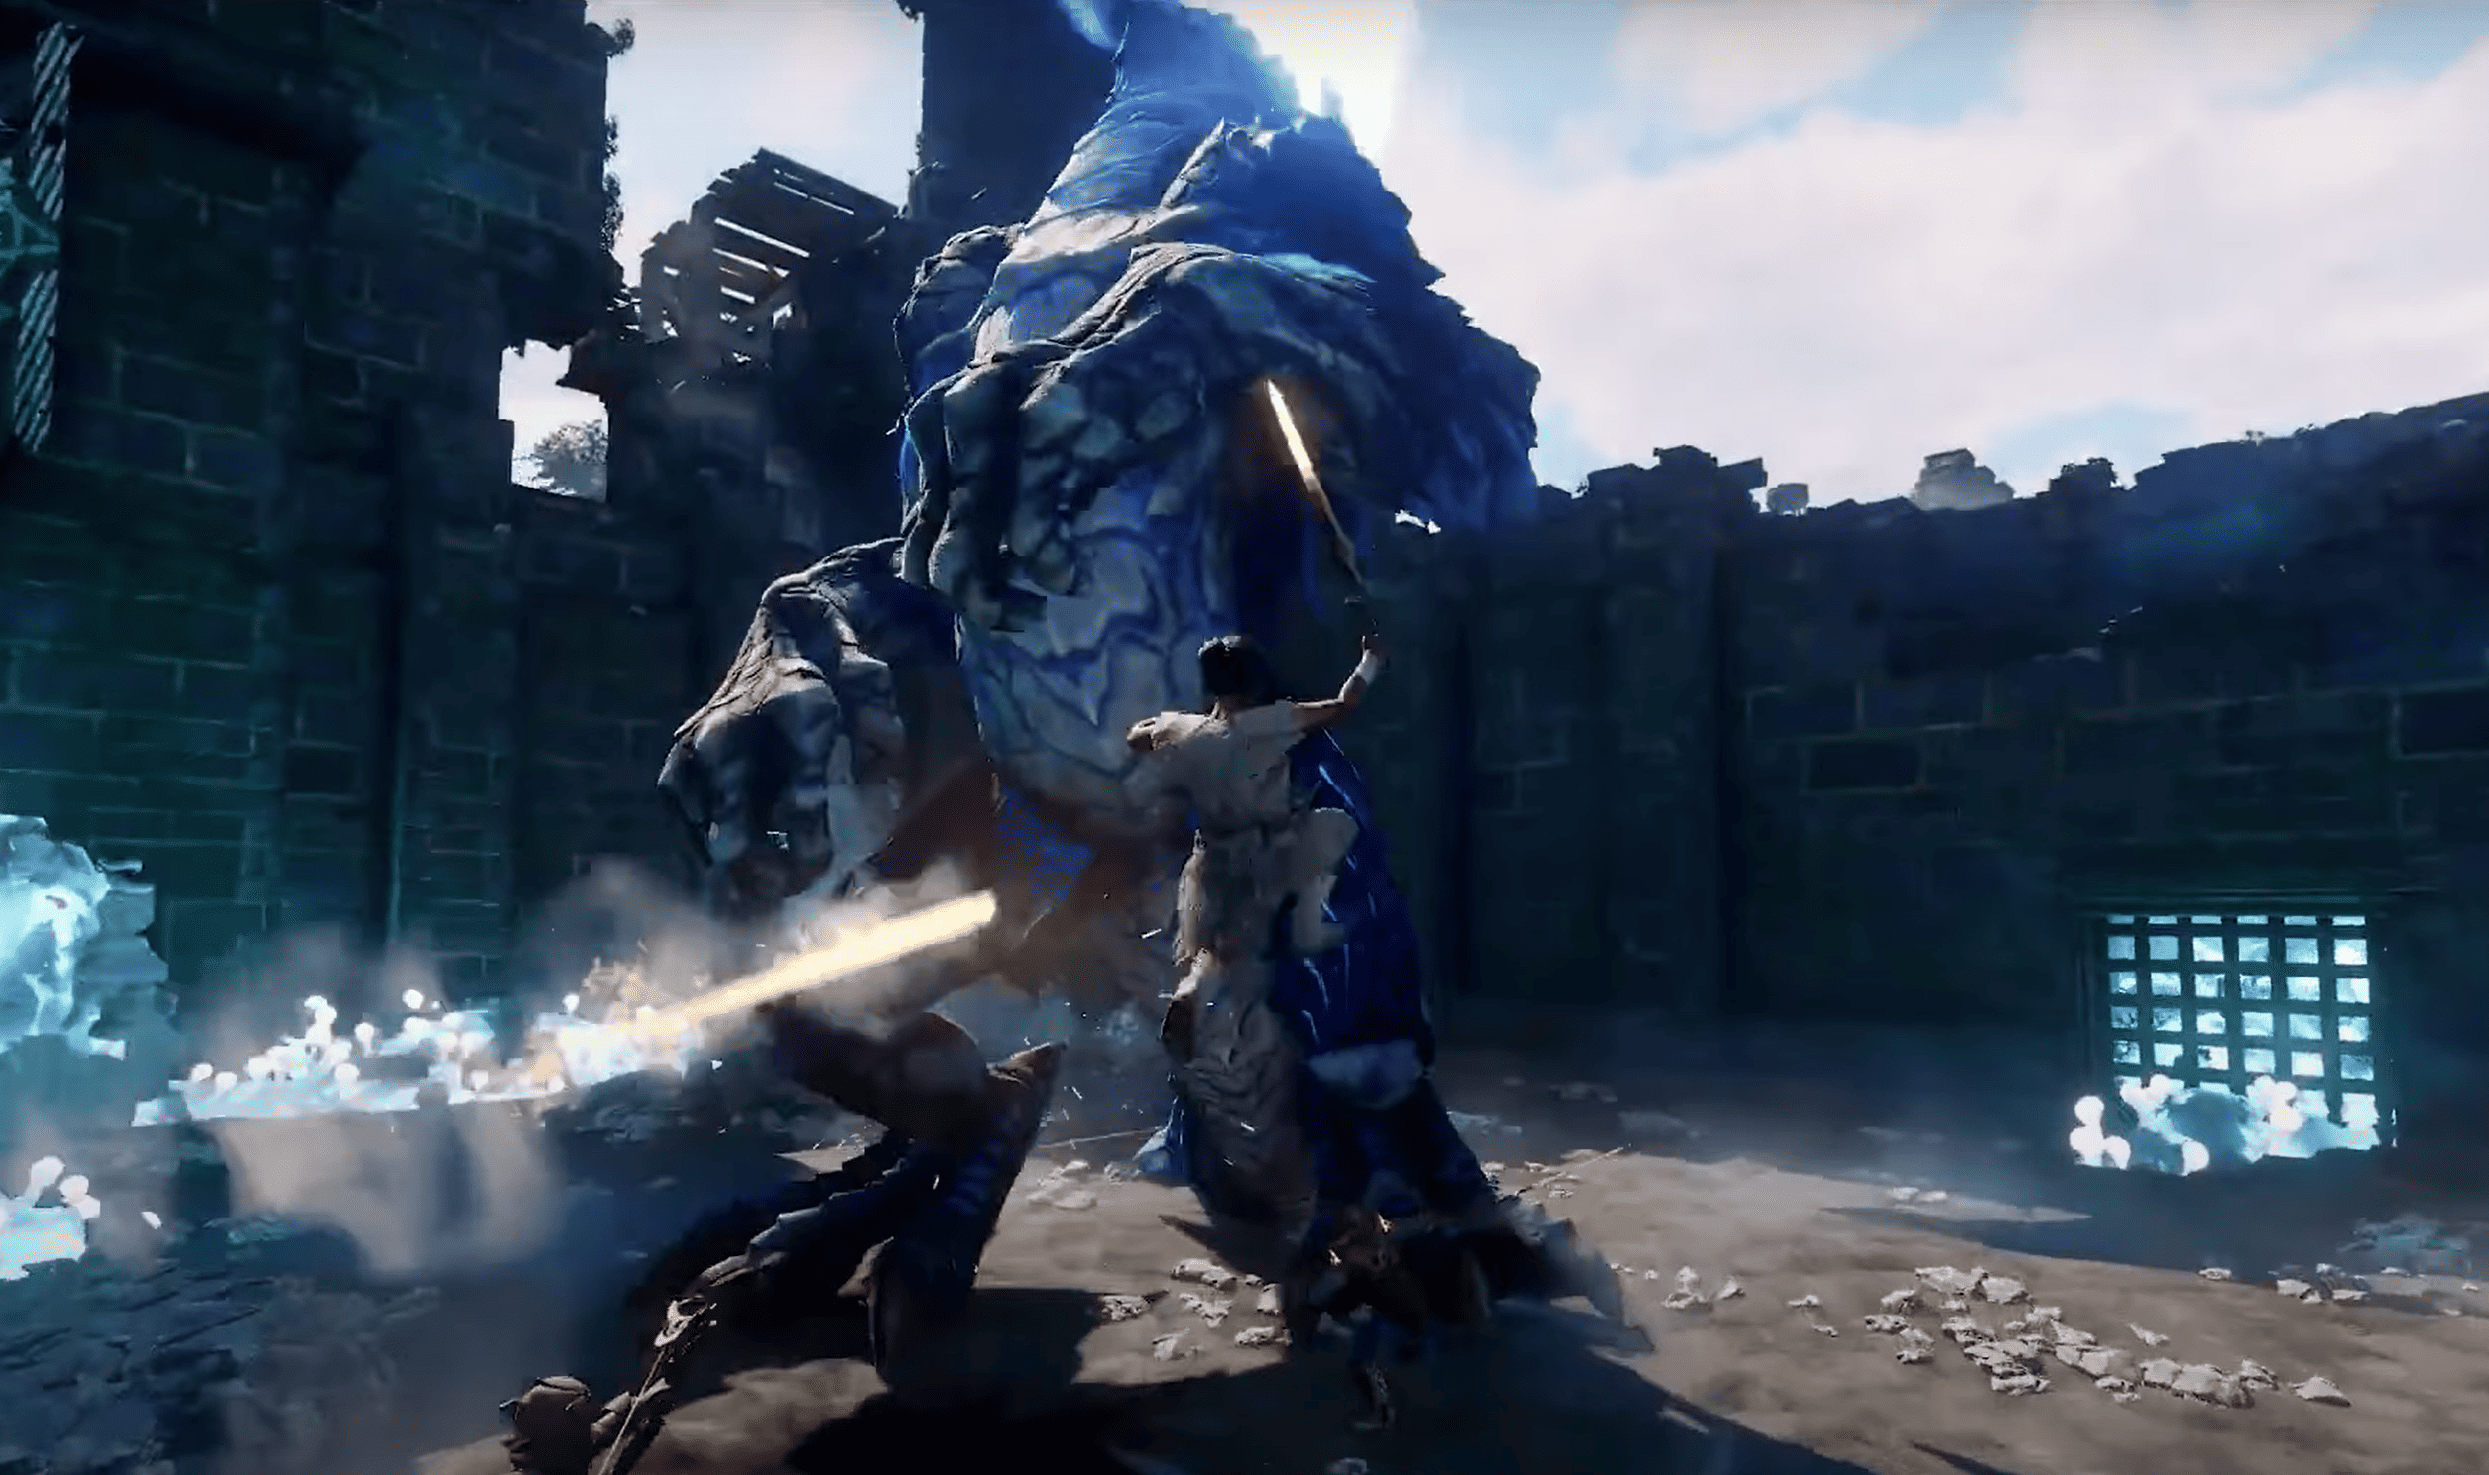
Enemies typically always have loot, animals having simple materials whilst enemies in the Shroud have larger loot. Bosses especially within Shrouds drop extremely valuable loot, from high valued weapons. You can eventually refight shroud bosses too, so be on the lookout fo r that.
Last but not least, is the environment. This goes hand in hand with when you wish to explore. Finding bushes, trees, stones and more. Building up your tools and arsenal is key.
What can I craft?
With your loot, crafting is the main use for most loot unless it’s a weapon, shield or other combat item. Crafting can range from gear for your protection, to making tools and weapons. It is also how to build up your town as you progress. Even your Flame Alter requires loot to sacrifice to upgrade your town! So keep that in mind when prioritising where your loot ends up going.
All of this can be helped getting loot to craft faster with friends, so consider setting up multiplayer!
Frequently Asked Questions about Enshrouded Dedicated Servers
When idle, the server uses about 4.4GB of physical RAM. Each player adds up to 100MB more. The total usage shouldn't exceed 6GB.
You should have 30GB of free space. The uncompressed server files take up around 13GB.
Save files range from 1MB to 100MB, depending on the world's complexity and the size of constructed bases.
One save file is created for each game world. Character saves are client-side, while world progression is saved on the server every 5 minutes.
The server uses IPv4.
The server needs a “gamePort” and a “queryPort”. The default settings are 15636 for gamePort and 15637 for queryPort.
Save data and logs are stored in "./savegame" and "./logs" respectively. The config file and crash dumps are located in the server executable's directory.
The server can run in the background with a DOS window open.
Look for messages like “[Session] 'HostOnline' (up)!” and “[server] Load deserialization took 2.77 s” in the DOS window and log file to confirm the server has started.
Access servers through the server browser in the game's main menu by selecting [Join]. Ensure the "Show dedicated server" option is enabled in the server filter to see dedicated servers. Mark servers as favorites with the "star" icon for easy access, and they will appear at the top of the list. Alternatively, if a server doesn't show up in-game, add it to your Steam favorites via [View] > [Game Servers] and use the [+] icon to add the server's IP.
Access servers through the server browser in the game's main menu by selecting [Join]. Ensure the "Show dedicated server" option is enabled in the server filter to see dedicated servers. Mark servers as favorites with the "star" icon for easy access, and they will appear at the top of the list. Alternatively, if a server doesn't show up in-game, add it to your Steam favorites via [View] > [Game Servers] and use the [+] icon to add the server's IP.


