Minecraft Farming: Making a Nether Wart Farm from Scratch
You've done it. You've made it to the Minecraft Nether and secured yourself a nice little base of operations. The spooky sounds and ominous red glow are nothing to you now. You're ready to set up a sustainable food source so you'll never go hungry in this strange world again. What better way than with a Nether wart farm? Nether wart is not only edible, but also a key ingredient in potions. With a good farm, you'll have a steady supply to eat and brew. This guide will show you how to make a fully automatic Nether wart farm from scratch using basic materials. Before you know it, you'll have more Nether wart than you know what to do with! The possibilities for exploration and adventure open up when you have a dependable food source. So grab your pickaxe, don your helmet, and let's get farming!
Why Build a Nether Wart Farm?
Building your own Nether wart farm is totally worth the effort! Nether wart is essential for brewing potions, and once you have a farm set up, you’ll have a steady supply.
Nether wart can be tricky to find in the Nether, so growing your own ensures you’ll have all you need for potion-making and more. A farm allows you to harvest Nether wart efficiently without searching far and wide across the Nether’s dangerous terrain.
To get started, you’ll need to find some Nether wart seeds. Look for small red plants growing on Soul Sand in Nether fortresses or bastion remnants. Harvest the fully grown wart with shears to get 2-4 seeds.
Next, find a patch of Soul Sand in a relatively safe area of the Nether and till it with a hoe. Plant your Nether wart seeds and wait - they take a while to mature, so be patient! Once fully grown, harvest away. Replant and in no time you’ll have a thriving Nether wart garden.
A larger farm means more harvesting potential. Expand by tilling more Soul Sand and planting the new seeds you obtain. You can build protective structures around the farm to shield it from ghasts and other mobs.
With a productive Nether wart farm, you’ll be brewing potions to your heart’s content in no time! Set it up and start reaping the rewards of an abundant Nether wart supply. Your potion experiments will be never-ending!
Choosing the Right Location for Your Nether Wart Farm
Choosing the perfect location for your Nether wart farm is key to its success! You want a spot that will provide ideal growing conditions for your warty red crops.
A Soul Sand Valley or Nether Wastes Biome
These biomes provide the soul sand required for Nether wart to grow, and the ambient heat will keep your farm cozy. Look for an open area without too many obstacles around so you have plenty of space to expand your farm in the future.


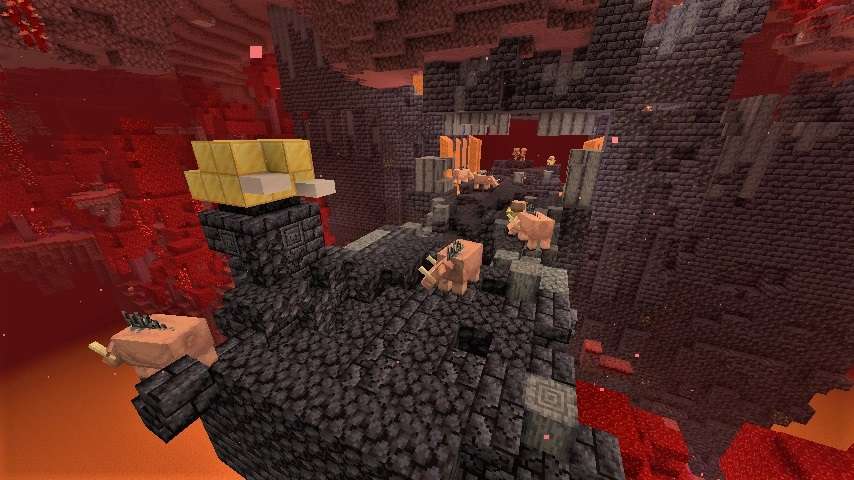
Near a Nether Fortress or Bastion Remnant
Nether wart seeds can often be found in chests within these structures, so building close by means quick trips to stock up on seeds to start or replenish your farm.


Safe from Ghasts and Hoglins
Make sure your chosen location is not in the direct line of fire of any ghast cannons, and preferably walled off enough to keep hoglins out of your crops. The last thing you want is your hard work trampled or exploded!
Flat Land is Best
Choose a location with minimal hills or uneven terrain. A flat area will make your farm much easier to harvest and expand. If needed, you can always flatten the land yourself by removing netherrack blocks.
A primo spot that checks all the boxes will have your Nether wart farm thriving in no time! Once you’ve selected the perfect place, grab your gold pickaxe and soul sand, plant those first precious seeds, and watch your Nether wart take off. May your farm produce a bountiful harvest of the wartiest, reddest crops this side of the portal!
Step-by-Step Guide to Building Your Nether Wart Farm
Are you ready to start your very own Nether wart farm in Minecraft? This guide will walk you through building one from scratch, step-by-step. Let’s do this!
Gather Your Supplies
To build a Nether wart farm, you’ll need a few essential supplies:
- Soul sand (to plant the Nether wart on)
- Nether wart seeds (to grow into mature Nether wart)
- Building blocks (like cobblestone) to construct your farm
- Light source (like torches) to keep your farm well-lit

Choose a Location
Select a flat area in the Nether where you want to build your farm. Clear the area of any obstructions. You’ll want plenty of space so your Nether wart has room to grow.
Plant Your Soul Sand
Place soul sand in rows with one block between each row. The soul sand will act as the “soil” for your Nether wart to grow on. Make your farm as big or small as you like!
Add Your Light Source
Place torches or another light source every few blocks to keep your farm well-lit. Mobs won’t spawn on soul sand, but lighting up the area will help your Nether wart grow.
Plant Your Nether Wart Seeds
Take your Nether wart seeds and plant them on the soul sand. Each seed will grow into a mature Nether wart plant. Plant as many seeds as you have - the more you plant, the bigger your harvest will be!
Harvest and Replant
Once your Nether wart is fully grown, harvest it by breaking the mature plant. Replant seeds to continue the cycle. Over time, you'll have a thriving Nether wart farm producing more Nether wart than you know what to do with!
Congratulations, you now have your very own Nether wart farm! Your farm will provide you with a steady supply of Nether wart to use for potions, trading, and more. Happy farming!
Tips for Harvesting and Maintaining Your Nether Wart Farm
Congratulations, you now have a thriving Nether Wart farm! To get the most out of your harvest, follow these tips:
Use a Fortune III Pickaxe
A Fortune III pickaxe will make harvesting a breeze and net you extra Nether Wart. When harvesting fully grown Nether Wart, a Fortune III pick can drop up to 4 Nether Wart per plant! That’s triple the yield. Fortune I and II will also boost your harvest, just not as much. Grab your enchanted pick and get to harvesting!
Reach and Harvest
Did you know you can harvest Nether Wart from up to 4 blocks away? Walk sideways through your farm and swing your arm to harvest multiple plants at once. This technique allows you to harvest quickly without trampling your crops.
Check for Readiness
Nether Wart is ready to harvest at the fourth stage of growth when the wart is darkest red. At this point, breaking the plant will drop 2 to 4 Nether Wart. Don’t harvest too early or you’ll get fewer warts. For the biggest harvest, check your farm frequently so you can harvest right when the Nether Wart is fully grown.
Replant and Repeat
After harvesting, replant your Nether Wart right away to keep the cycle going. Place the new seed warts in the same spots you harvested from. With regular harvesting and replanting, your farm will produce Nether Wart steadily and abundantly!
Keep following these tips and your Nether Wart farm will thrive. Before you know it, you'll have more Nether Wart than you know what to do with! Stay on top of harvesting and replanting and you'll have a lifetime supply of this useful and valuable resource. Happy farming!
Conclusion
So there you have it, a complete guide to building your own Nether wart farm in Minecraft. Now you can harvest Nether warts whenever you need them for potions or just to decorate your base. With some time and patience, you've created an efficient farm that will provide you a steady supply of Nether warts. Go ahead, build your farm, tend to your crops, and enjoy the rewards of your labor. The Nether just became a little more hospitable thanks to your new farm. What are you waiting for? Grab your Minecraft Server Hosting, light your portal, and get farming! The possibilities are endless now that you have a renewable source of Nether warts.


